Wow, its Tuesday again - not sure how that happened at all - but here we are!
Today, I want to show you how easy it is to make a cute Tulip Card - perfect for Easter and Spring. You could modify this lesson with your class to make an artwork also.
All you need for each student is a piece of thin card, coloured paper, scissors, pencil and a glue stick.
Have your students fold a piece of card, landscape.
Students then freehand draw 6 or 7 tulip shapes. Discuss with your students the shape of a tulip and show them how to draw one. Describe it to them - 'like a circle with three sharp claws" - this visual language will help them to understand how to draw it. You could also provide some tracers for your students if you think they are needed.
Ask them to draw, on the back of the green paper, a rectangle and divide it into 7 stem-shaped sections.
Ask your students to cut all the piece out.
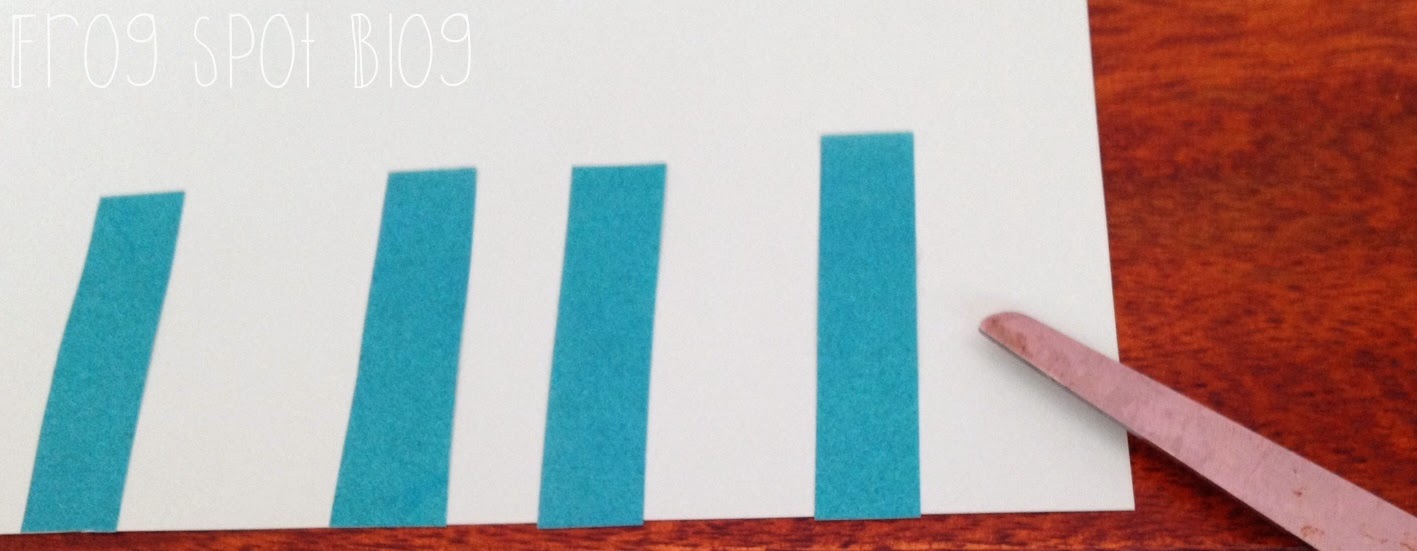
Your students should glue the stems across the bottom of the front of the card. The bottom of each stem should overhang the edge slightly.
Students them trim the stems to made the edge clean.
To finish, a tulip is attached to each stem.
Please link up with any art or craft idea you have on your blog! It does not have to be a long post, even just a short pot with some photos of your finished artwork - this is all about gathering new ideas for your classroom art lessons! If you link up, please make sure you add a clickable link back to this post!
Have a great day friends!
.jpg)


ليست هناك تعليقات: